
Posts Tagged: Install Splunk
Splunk on CentOS 7
Pre-requisites for the installations – Recommend a proper hostname, firewall and network configuration for the server prior to the installations.
Splunk supports only 64 bit Server Architecture.
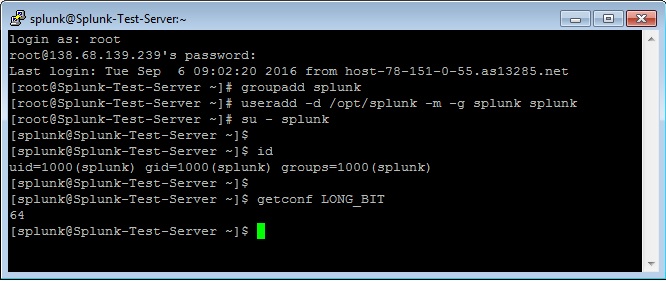
Create a Splunk User
It is always recommended to run this application as its dedicated user rather than as root.
Create a user to run this application and create an application folder for the installation.
login as: root
root@ Splunk-Test-Server’s password:****
Last login: Tue Sep 6 09:02:20 2016 from host-78-151-0-55.as13285.net
[root@Splunk-Test-Server ~]# groupadd splunk
[root@Splunk-Test-Server ~]# useradd -d /opt/splunk -m -g splunk splunk
[root@Splunk-Test-Server ~]# su – splunk
[splunk@Splunk-Test-Server ~]$
[splunk@Splunk-Test-Server ~]$ id
uid=1000(splunk) gid=1000(splunk) groups=1000(splunk)
[splunk@Splunk-Test-Server ~]$
To Confirm the Server Architecture
[splunk@Splunk-Test-Server ~]$ getconf LONG_BIT
64
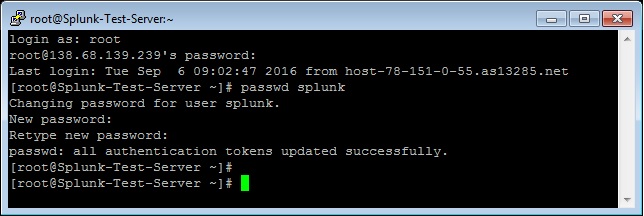
[root@Splunk-Test-Server ~]# passwd splunk
Changing password for user splunk.
New password: ****
Retype new password: ****
passwd: all authentication tokens updated successfully.
[root@Splunk-Test-Server ~]#
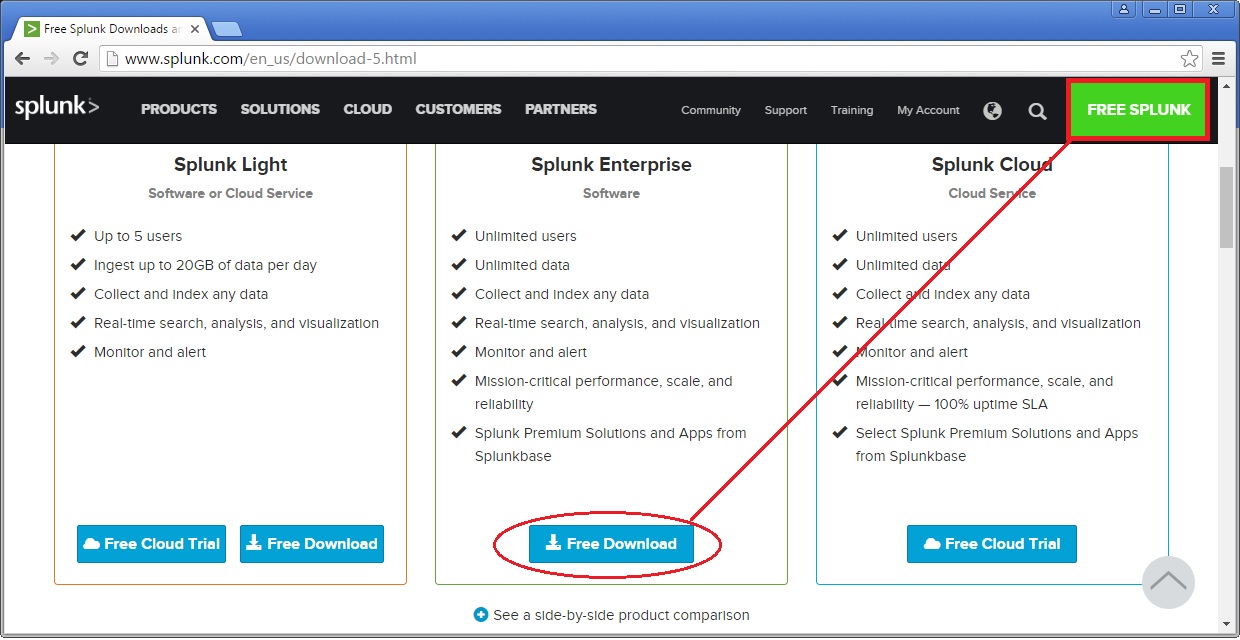
Download and extract the Splunk Enterprise version
Create a Splunk account and download the Splunk software from their official website here.
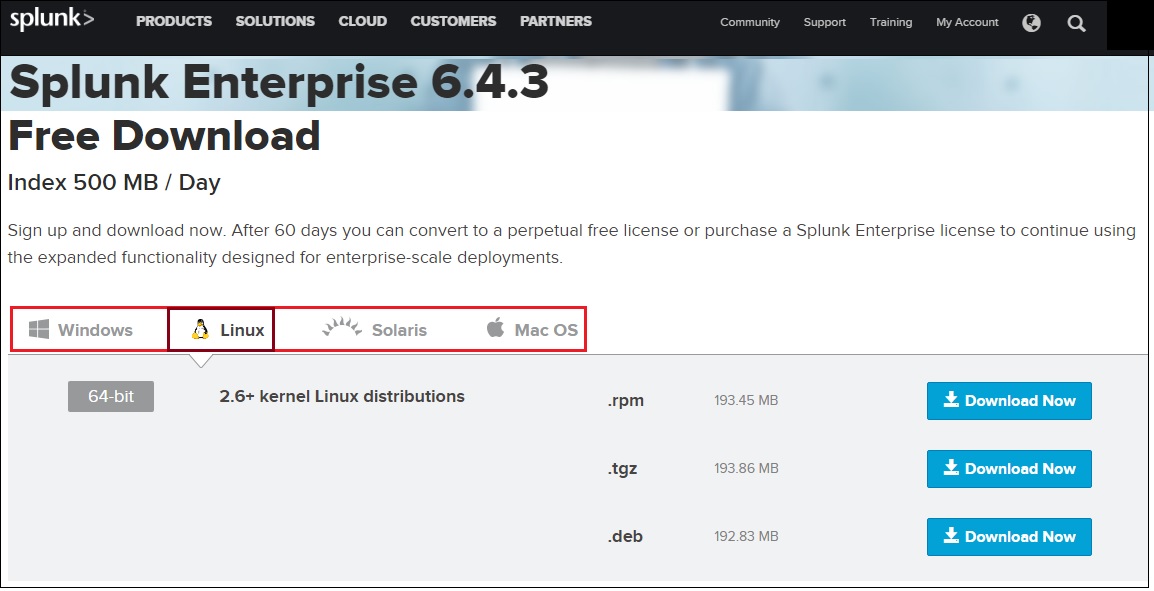
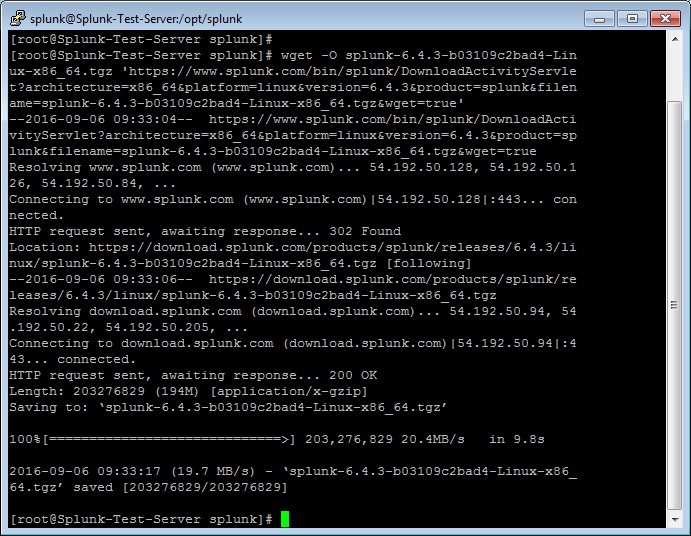
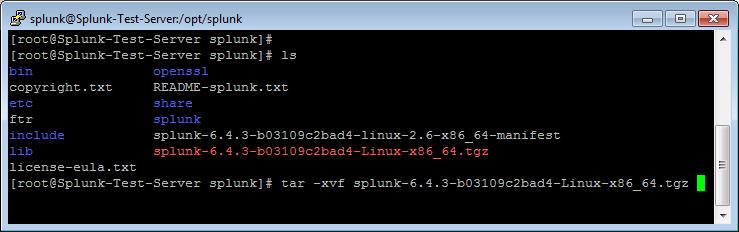
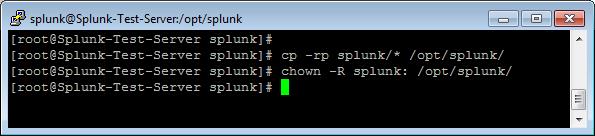
Now extract the tar file and copy the files to the Splunk application folder namely /opt/splunk created.
Splunk Installation
Once the Splunk software is downloaded, you can login to your Splunk user and run the installation script. We will choose the trial license, so it will take it by default.
[root@Splunk-Test-Server splunk]# su – splunk
Last login: Tue Sep 6 09:21:18 UTC 2016 on pts/1
[splunk@Splunk-Test-Server ~]$
[splunk@Splunk-Test-Server ~]$ cd bin/
[splunk@Splunk-Test-Server bin]$ ./splunk start –accept-license
This appears to be your first time running this version of Splunk.
Copying ‘/opt/splunk/etc/openldap/ldap.conf.default’ to ‘/opt/splunk/etc/openldap/ldap.conf’.
Generating RSA private key, 1024 bit long modulus
………………………………………………….++++++
e is 65537 (0x10001)
writing RSA key
Generating RSA private key, 1024 bit long modulus
e is 65537 (0x10001)
writing RSA key
Moving ‘/opt/splunk/share/splunk/search_mrsparkle/modules.new’ to ‘/opt/splunk/share/splunk/search_mrsparkle/modules’.
Splunk> See your world. Maybe wish you hadn’t.
Checking prerequisites…
Checking http port [8000]: open
Checking mgmt port [8089]: open
Checking appserver port [127.0.0.1:8065]: open
Checking kvstore port [8191]: open
Checking configuration… Done.
Creating: /opt/splunk/var/lib/splunk
Creating: /opt/splunk/var/run/splunk
Creating: /opt/splunk/var/run/splunk/appserver/i18n
Creating: /opt/splunk/var/run/splunk/appserver/modules/static/css
Creating: /opt/splunk/var/run/splunk/upload
Creating: /opt/splunk/var/spool/splunk
Creating: /opt/splunk/var/spool/dirmoncache
Creating: /opt/splunk/var/lib/splunk/authDb
Creating: /opt/splunk/var/lib/splunk/hashDb
Checking critical directories… Done
Checking indexes…
Validated: _audit _internal _introspection _thefishbucket history main summary
Done
New certs have been generated in ‘/opt/splunk/etc/auth’.
Checking filesystem compatibility… Done
Checking conf files for problems…
Done
Checking default conf files for edits…
Validating installed files against hashes from ‘/opt/splunk/splunk-6.4.3-b03109c2bad4-linux-2.6-x86_64-manifest’
All installed files intact.
Done
All preliminary checks passed.
Starting splunk server daemon (splunkd)…
Generating a 1024 bit RSA private key
……………………………++++++
writing new private key to ‘privKeySecure.pem’
Signature ok
subject=/CN=Splunk-Test-Server/O=SplunkUser
Getting CA Private Key
writing RSA key
Done
[ OK ]
Waiting for web server at http://127.0.0.1:8000 to be available… Done
If you get stuck, we’re here to help.
Look for answers here: http://docs.splunk.com
The Splunk web interface is at http://Splunk-Test-Server:8000
[splunk@Splunk-Test-Server bin]$
The Splunk web interface is at http://splunk@Splunk-Test-Server:8000
Access your Splunk Web interface at http://IP:8000/ or http://hostname:8000. Confirm the port 8000 is open in your server firewall.
Configuring Splunk Web Interface
This completes installation and now Splunk Service up & running in your server.
Next step is to set-up Splunk Web interface.
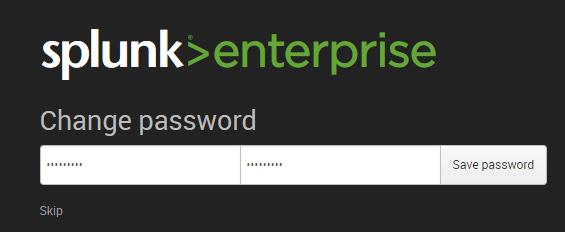
Access Splunk web interface and set administrator password.
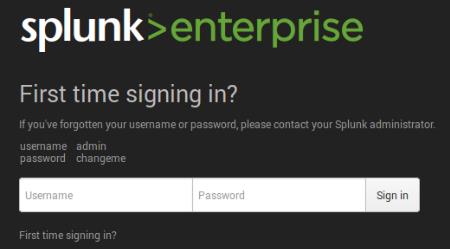
First time when you’re accessing the Splunk interface, you can use the user/password provided in the page which is admin/changeme in this case. Once logged in, on the very next page it will ask to change and confirm your new password.
Now start using the Splunk Dashboard !!
https://www.splunk.com/web_assets/v5/book/Exploring_Splunk.pdf
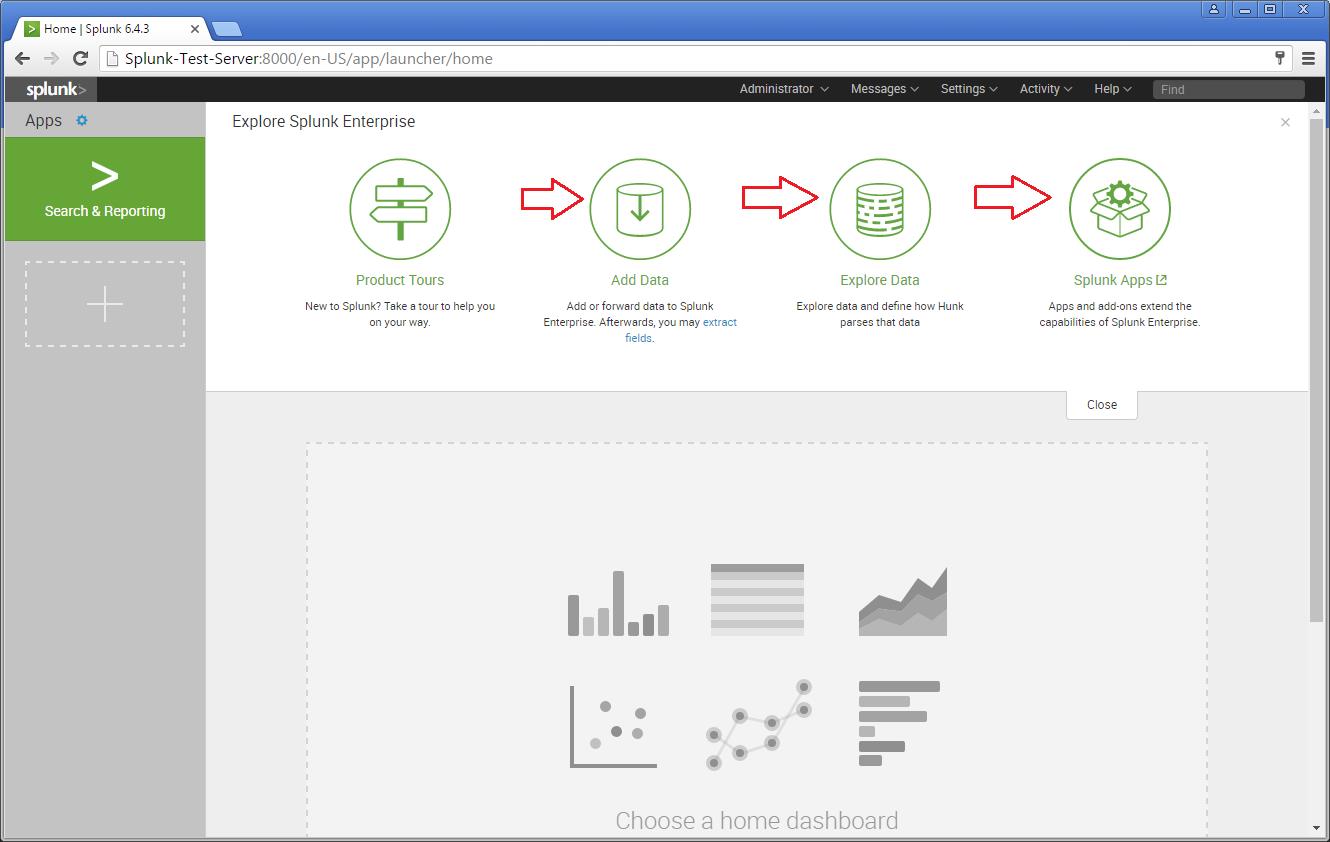
There are different categories listed over in the home page. You can choose the required one and start splunking.

There are different categories listed over in the home page. You can choose the required one and start splunking.
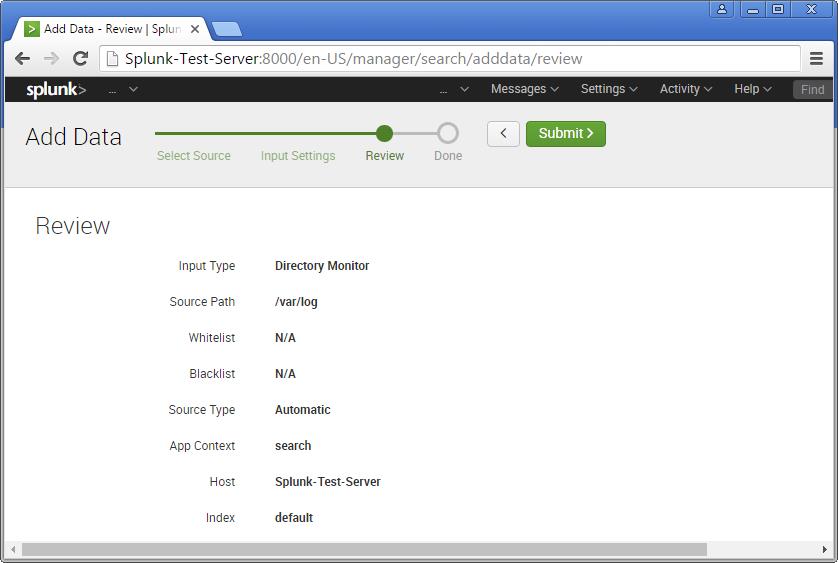
Adding a task
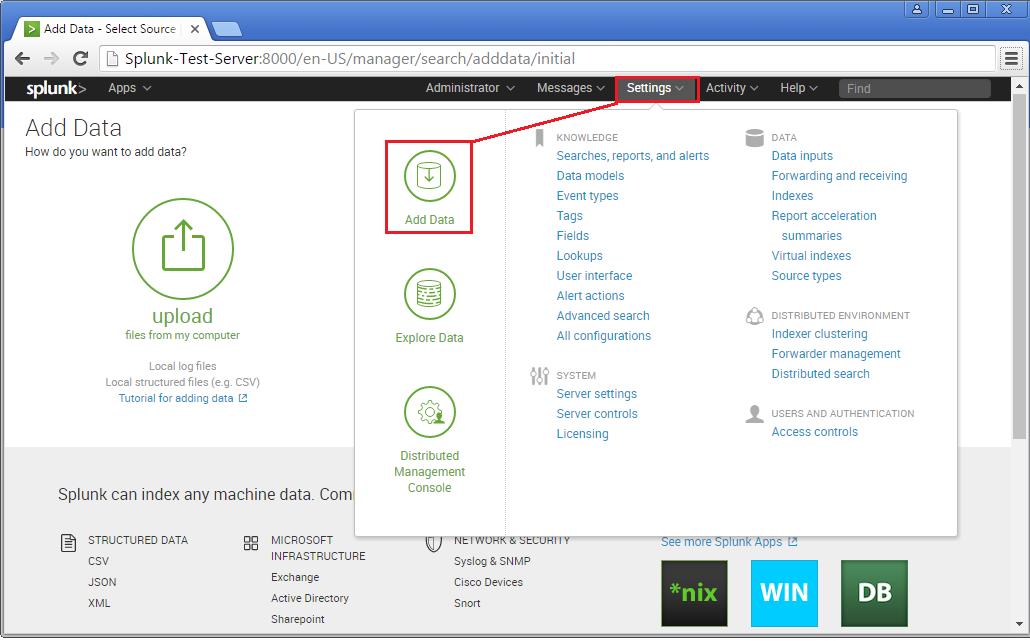
I’m adding an example for a simple task which is been added to the Splunk system. Just see my snapshots to understand how I added it. My task is to add /var/log folder to the Splunk system for monitoring.
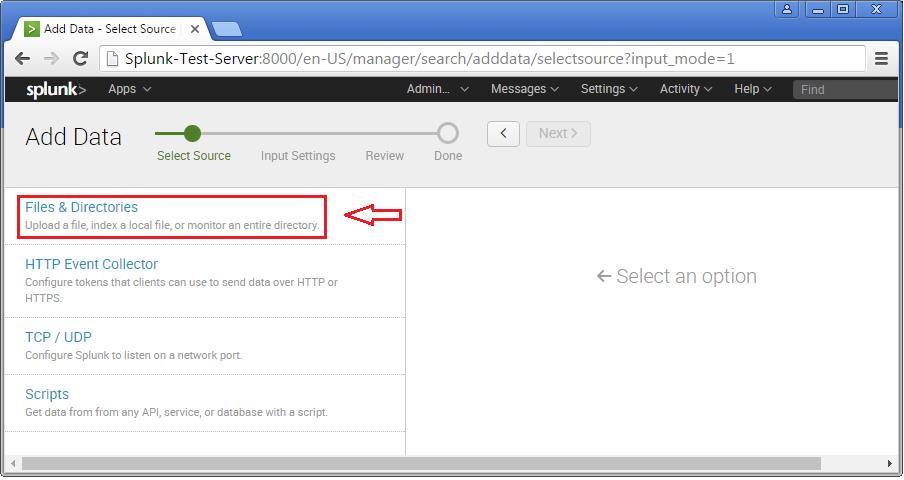
Step 1 >> Open up the Splunk Web interface. Click on the Settings Tab >> Choose the Add Data option.
Step 2 >> The Add Data Tab opens up with three options : Upload, Monitor and Forward. The task here is to monitor a folder, hence will go ahead with Monitor.
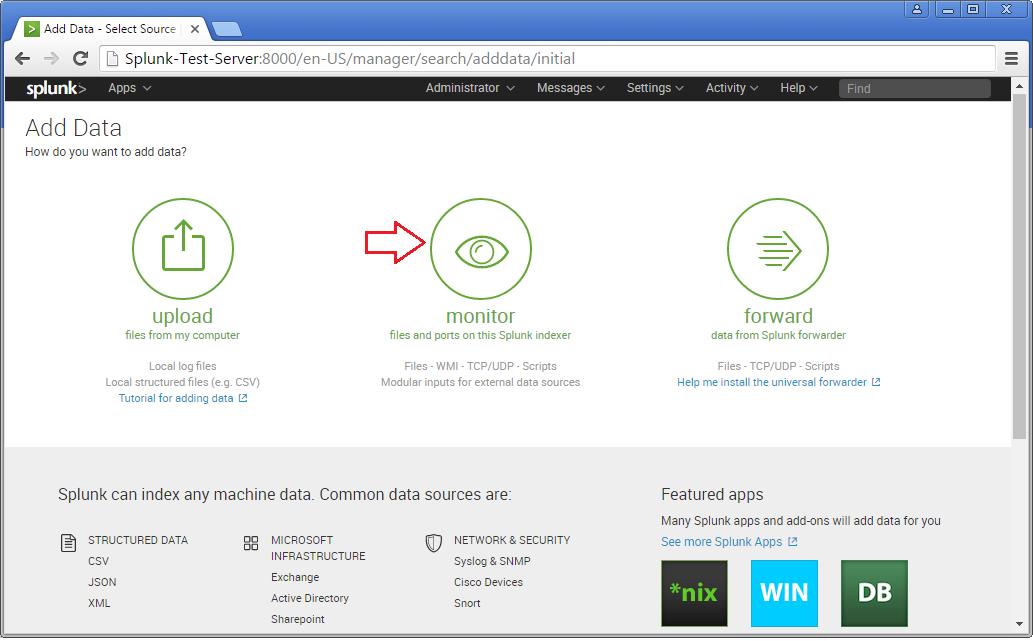
In the Monitor option, there are four categories as below:
File & Directories : To monitor files/folders
HTTP Event Collector : Monitor data streams over HTTP
TCP/UDP : Monitor Service ports
Scripts : Monitor Scripts
Step 3 >> In this example, lets choose the Files & Directories option.
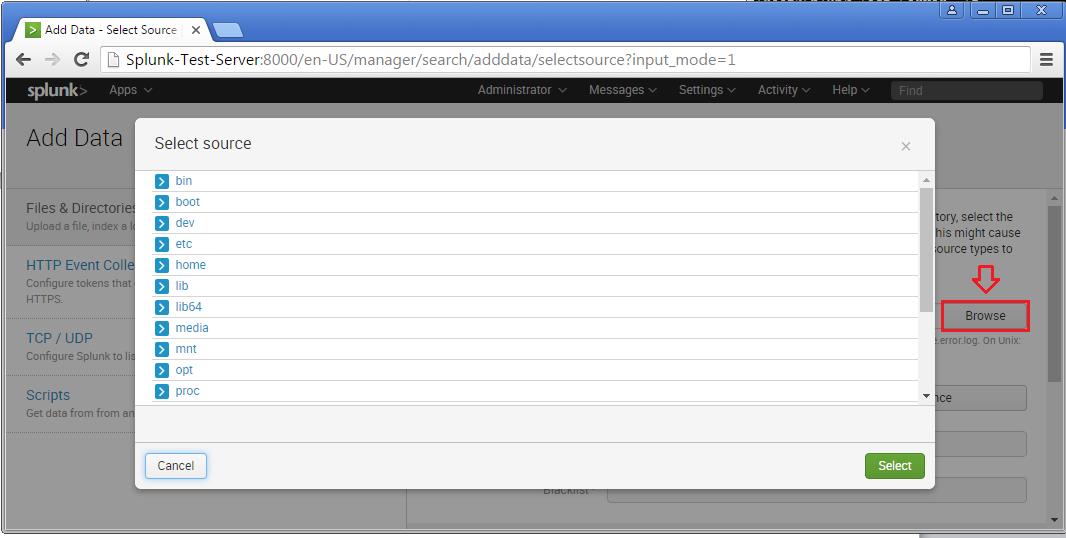
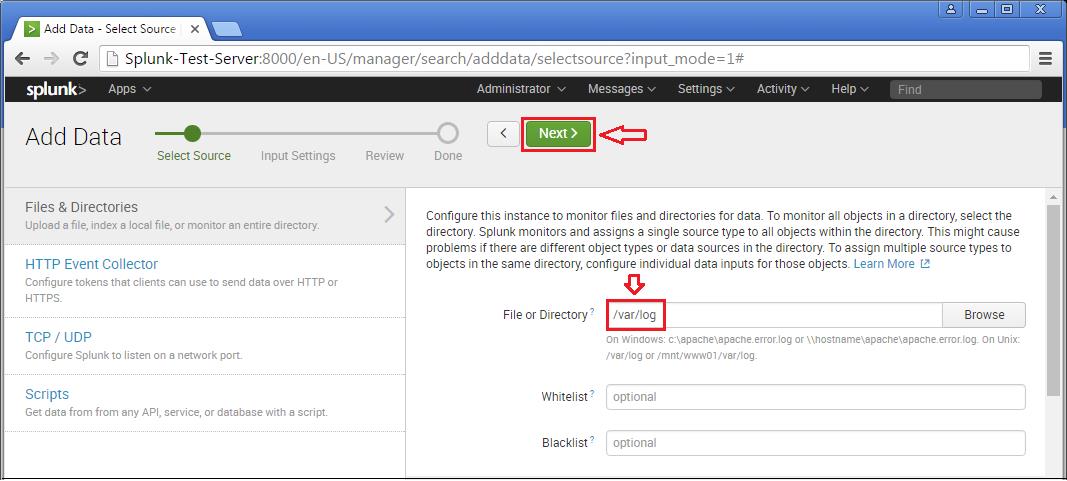
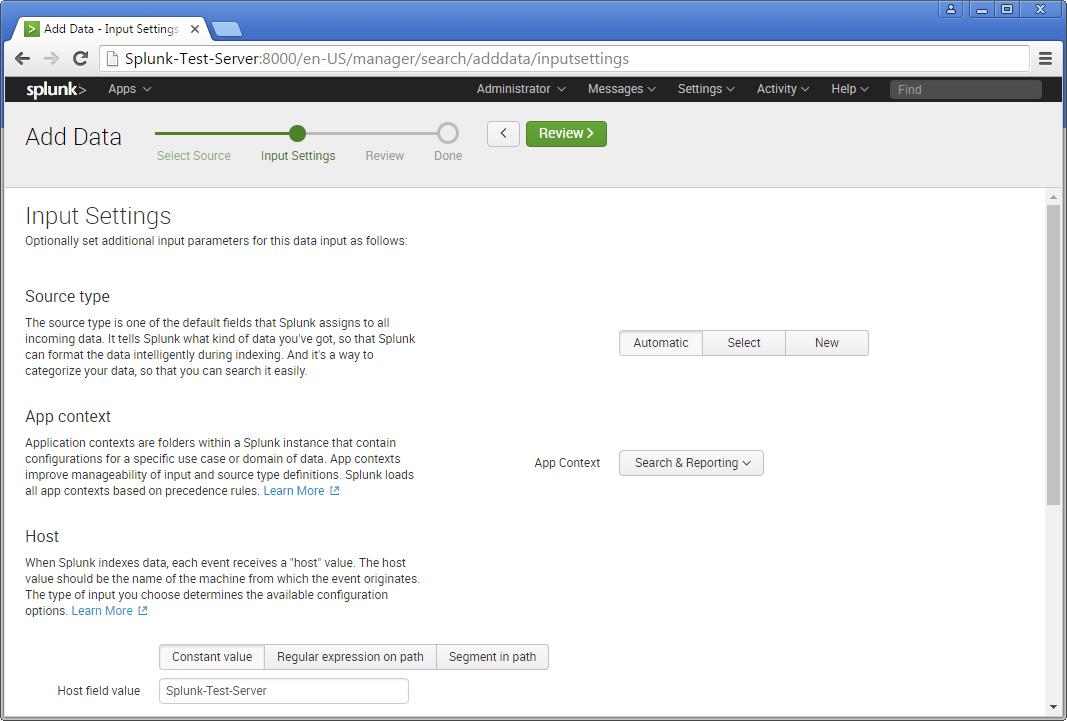
Step 4 >> IN this example choose the exact folder path from the server to monitor. Once you confirm with the settings, you can click Next and Review.
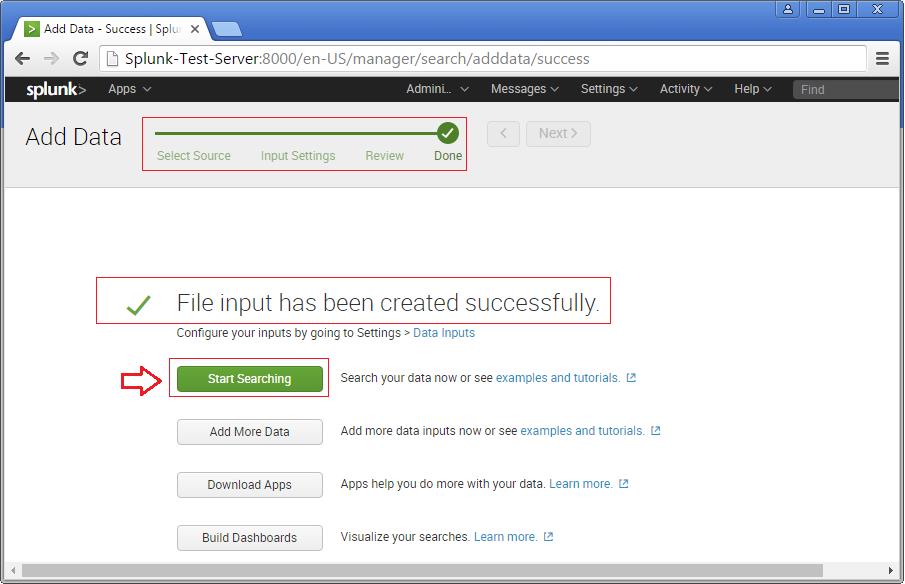
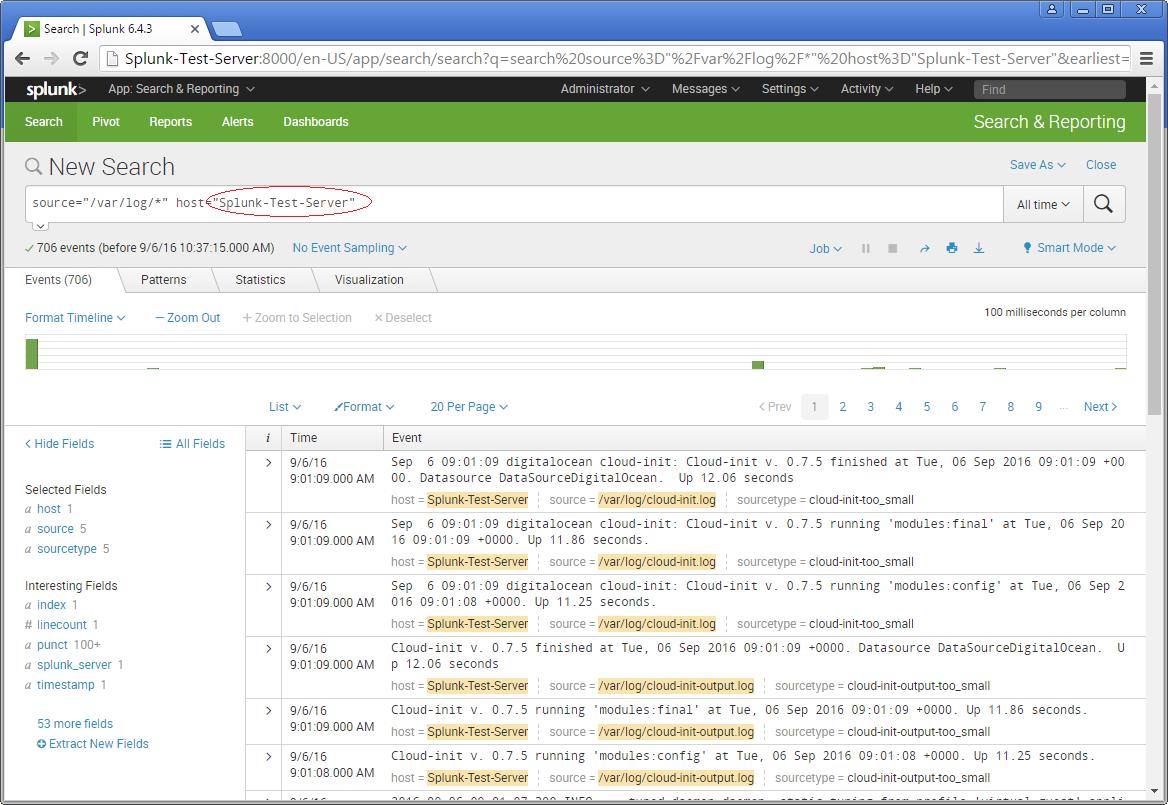
Now you will see the logs on the sample Splunk-Test-Server.
Please consider the above as an example for Splunking. It all depends upon the number of tasks you add to explore your server data. Happy Splunking !!