
Posts Tagged: OpenStack
OpenStack ‘Mitaka’ installation on CentOS 7
OpenStack is a Cloud Software that manage large pool of compute (hypervisors), storage ( block & swift ) and network resources of a data center.
It provides a Dashboard where admins can create and manage Projects (Tenants ) and give appropriate access to the project members , further on Project members can create VMs (Virtual Machine).
OpenStack consists of several Services/Projects that are separately installed depending on your cloud needs like –
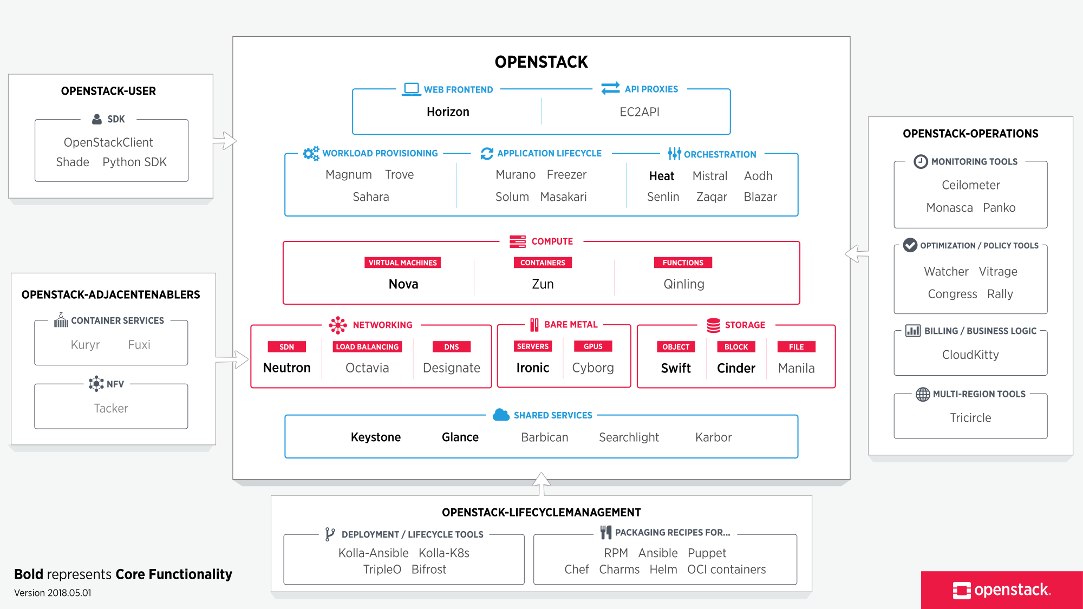
You can install any of these projects separately and configure them ‘stand-alone’ or as connected entities.
The OpenStack project is an open source cloud computing platform that supports all types of cloud environments. The project aims for simple implementation, massive scalability, and a rich set of features. Cloud computing experts from around the world contribute to the project. OpenStack provides an Infrastructure-as-a-Service (IaaS) solution through a variety of services.
Each service offers an Application Programming Interface (API) that facilitates this integration.
After becoming familiar with basic installation, configuration, operation, and troubleshooting of these OpenStack services, you should consider the following steps towards deployment using a Production Architecture:
- Determine and implement the necessary core and optional services to meet performance and redundancy requirements.
- Increase Security using methods such as Firewalls, Encryption, and Service Policies.
- Implement a deployment tool such as Ansible, Chef, Puppet, or Salt to automate deployment and management of the production environment.
Single Node OpenStack ‘ MITAKA ’ installation Steps on CentOS 7 using RDO repositories (Packstack)
Set the following steps:
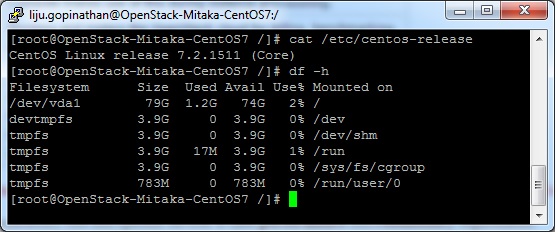
1. Hostname to OpenStack-Mitaka-CentOS7
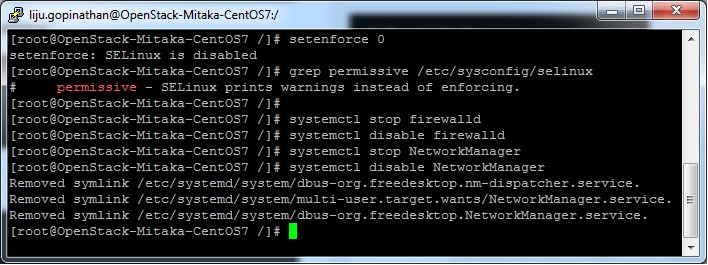
2. Selinux in Permissive Mode >> Edit the selinux config file ( /etc/sysconfig/selinux ) and set “SELINUX=permissive”
3. Disable firewalld & NetworkManager Service
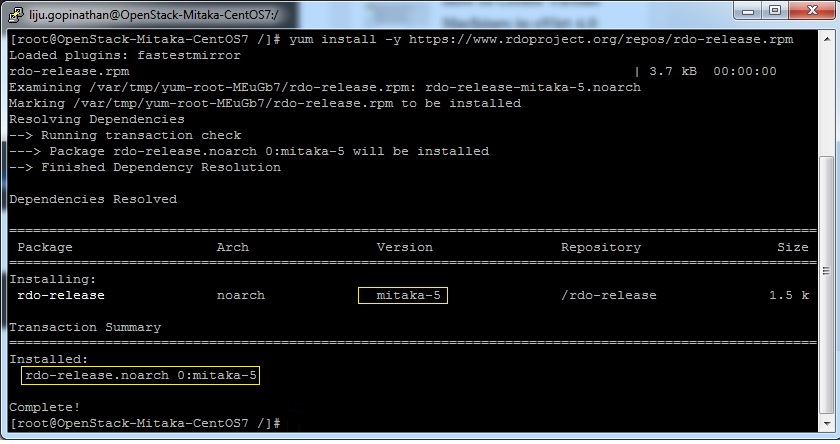
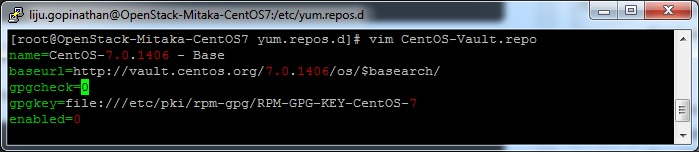
4. Update the system and enable RDO Repository for MITAKA packages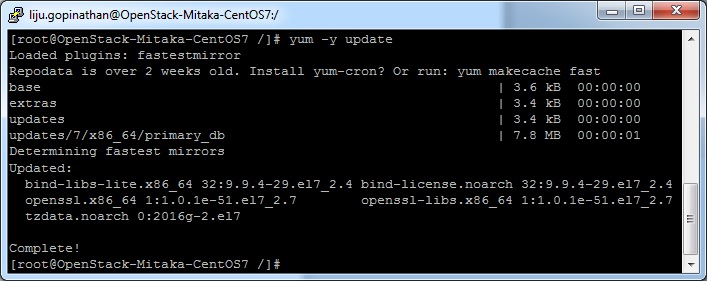
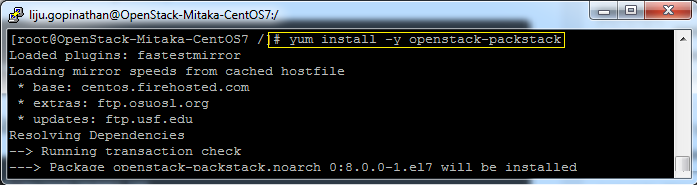
5. Check the yum repolist to varify the repo details and then install OpenStack PackStack Package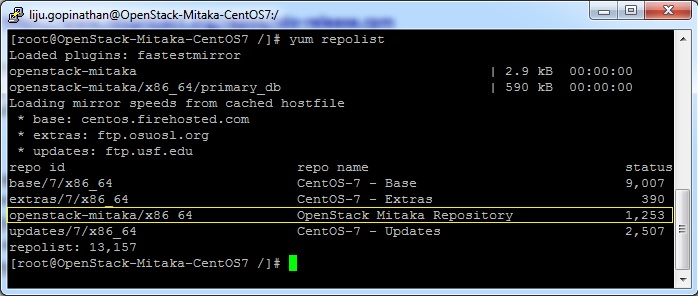
Once the Packstack installation is done we will deploy OpenStack. Packstack can be installed in 3 ways :
a. packstack
b. packstack –allinone
c. packstack –gen answer-file=/path ( The easiest way to install Packstack )**
Generate the answer file using the command #packstack –gen-answer-file=/root/answer.txt and the edit the answer file “/root/answer.txt”.
Change the following parameters and ignore the rest.
CONFIG_PROVISION_DEMO=n
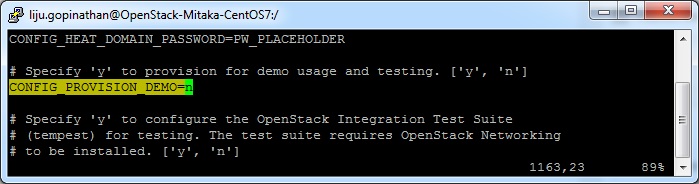
CONFIG_KEYSTONE_ADMIN_PW=letslearntogether
CONFIG_HORIZON_SSL=n
CONFIG_NAGIOS_INSTALL=n
6. OpenStack installation using answer file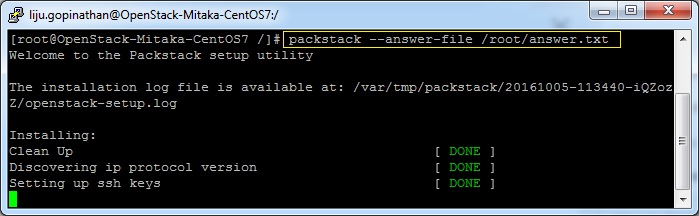
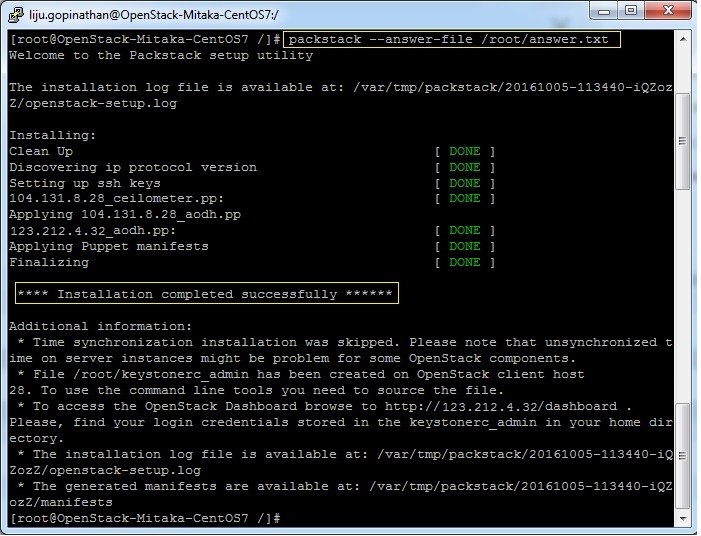
This completes the OpenStack installation. A new interface called “br-ex” will be created and assign the IP addess of eth0 or enp0s3 to br-ex.
You can now access OpenStack Dashboard using https://123.212.4.32/dashboard
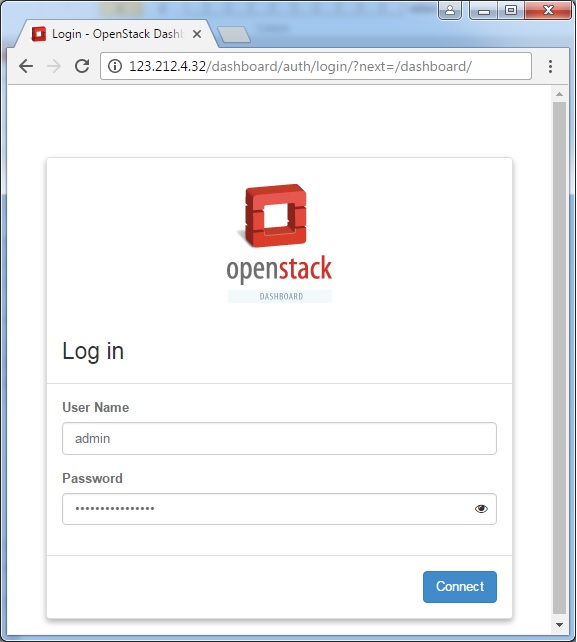
Happy Learning !!